What is DirectAdmin?

Welcome to my blog where I will try to inform you about what is DirectAdmin.
DirectAdmin is like the ultimate superhero of web hosting control panels! It’s a powerful software that brings out its cape and provides a dazzling graphical interface to make managing web hosting accounts a breeze.
It basically works similarly to the other panel but it’s a lot more cheap compared to the others.
With DirectAdmin, hosting providers and system administrators can efficiently manage and control multiple web hosting accounts on a server.
It offers an intuitive interface that allows users to perform various tasks without needing extensive technical knowledge, so everyone can use it easily after some research.
Let’s see the main features together.
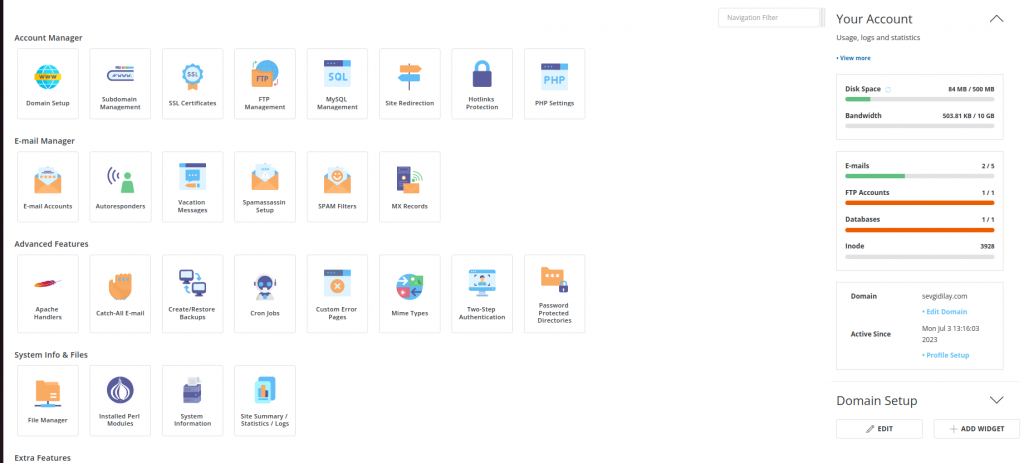
This is how your main page will look like. You can use the Navigation Filter for your searches but I cannot say that it works perfectly.

Here is the Account Manager Area where DirectAdmin allows the creation and management of web hosting accounts, enabling hosting providers to allocate resources, set up FTP accounts, manage DNS settings, and control access permissions.
You can change your domain name and also learn your Bandwidth in the Domain Setup part.
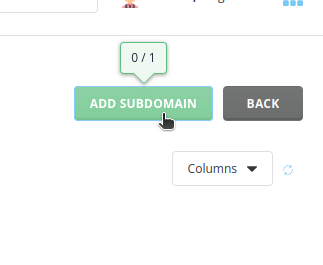
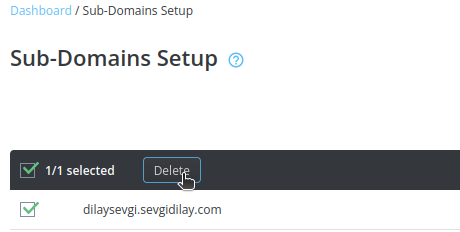
You can create a subdomain and then delete it using Subdomain Management like this:
You can see and get your SSL (Secure Sockets Layer) Certificates, which I am covering more in detail HERE.
FTP Management HERE
Or you can create a Database using MySQL Management part by following the steps HERE.
Let’s move onto the Site Redirections where you can forward visitors to somewhere else on your site, or to another website altogether.
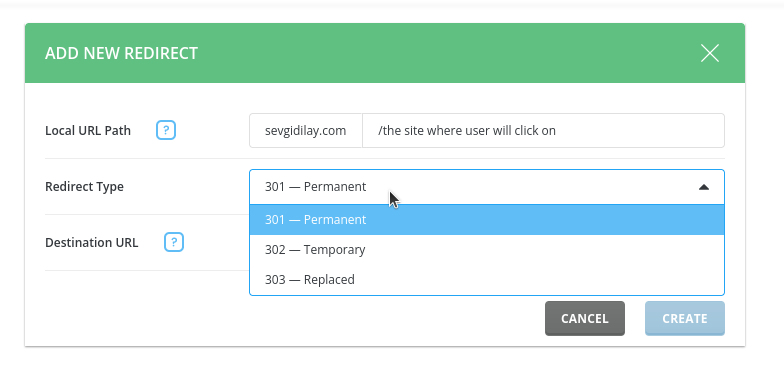
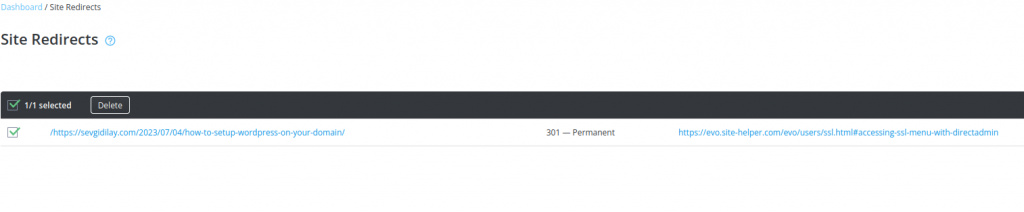
Now I have a permanent(301) redirection that redirects the user from the left link to the right one.
Next, we have the Hotlinks Protection area.
To make use of this part we need to know that hotlinking is the act of copying assets, usually images, by linking the file directly from other websites without authorization.
So the main purpose of hotlink protection is to protect the bandwidth usage of your server/shared hosting account by forbidding other websites from linking the content like images/files of your website.
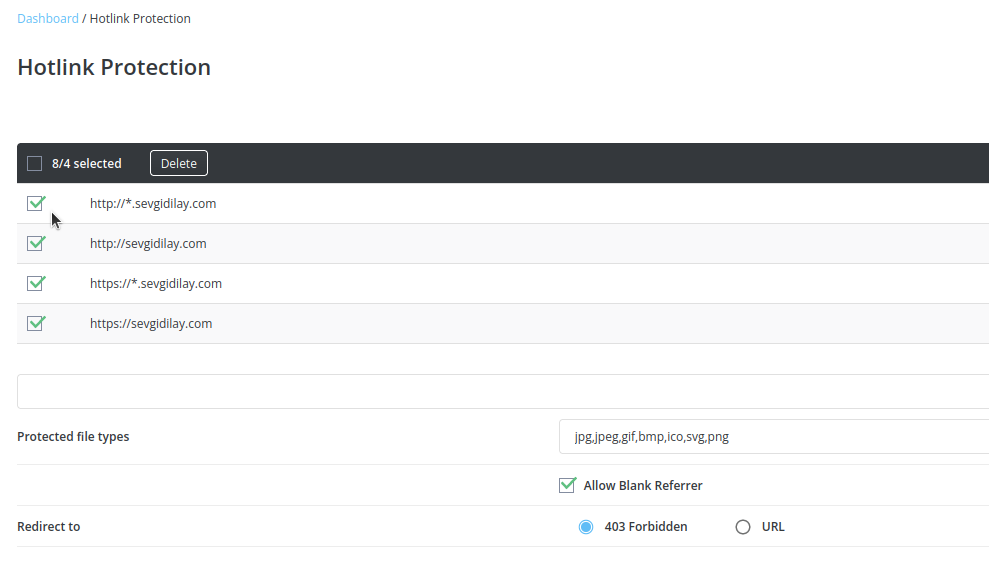
You can choose the website which you want to be protected here.
Next is PHP Settings.
Now we are done with the Account Manager part, let’s continue with the E-mail Manager part.
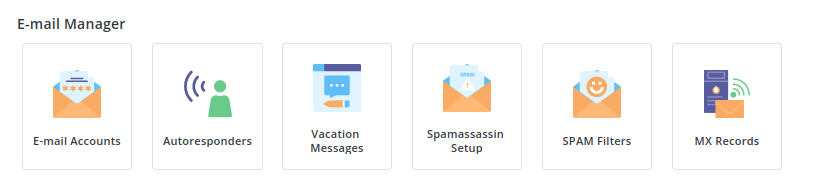
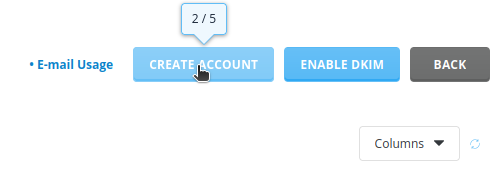
The first part is E-mail Accounts where you can create yourself e-mail accounts as you wish like this:
You can use these e-mails in various ways but the easiest one is just to write
yourEmail.com/webmail
to your browser and start using the e-mail address.
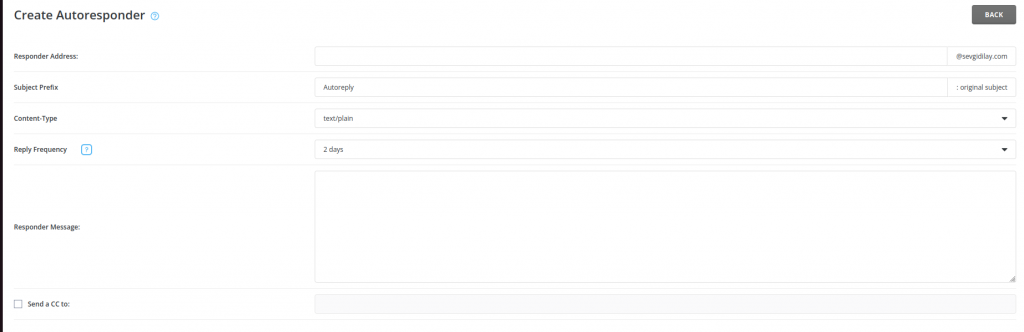
Next is Autoresponders. An autoresponder message is an email message that will be sent automatically to all senders. You can choose the message, subject, and reply frequency here.
My suggestion is not to set this frequency too low because it will reply to spam emails so much which might cause problems.
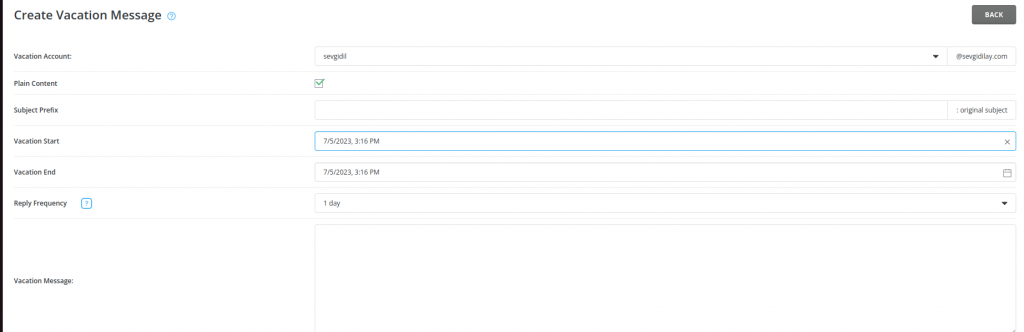
Vacation messages also work similarly with its autoreply mechanism but here you can set a time limit like this.
Let’s move onto the SpamAssassin Setup and Spam Filters which we take a look at HERE.
Let’s continue with MX Records. An MX record (Mail Exchange Record) is like a setting that directs the email traffic of a domain.
When someone wants to send or receive an email using a domain name, let’s say “example.com,” the MX record is used to determine the email server handling that domain’s emails.
The MX record is part of the domain’s DNS (Domain Name System) settings and it indicates the email server where the emails should be directed to. The email server is where the recipient’s email account resides, and emails are delivered through that server.
For example, an MX record for the “example.com” domain might look like example.com. MX 10 mail.example.com which basically means emails should be directed to the server named “mail.example.com.”
An MX record comes with a priority value of 10. If there are multiple MX records, servers with lower priority values are used first. This allows for the possibility of routing emails to backup servers if needed.
Let’s understand the priority values better. Keep in mind that something with a priority value of 10 is prior to something with a priority value of 20 so if I have
example.com. MX 10 mail1.example.com
example.com. MX 20 mail2.example.com
the email server at “mail1.example.com” will be tried first for message delivery because it has a lower priority value. If it is not accessible or unavailable, the server at “mail2.example.com” will be attempted as the backup option.
Note that if multiple servers have the same priority value, they are considered equally preferred, and the email server software typically uses a round-robin algorithm (distributing workload evenly across multiple resources in a cyclical manner) to distribute the email load among them.
Now, let’s move on to the Advanced Features part.

The first part here is the Apache Handlers. Here, the handlers tell Apache (the web server software) what to do with certain types of files.
Apache is used to serve web pages to clients (such as web browsers) over the HTTP (Hypertext Transfer Protocol). It handles client requests, delivers web pages based on those requests, and manages the communication.
Next, we have Catch-All E-mail which will catch all improperly addressed mail for example mails written to a user that doesn’t exist on your site. You can choose if you want to inform the sender, ignore or send the mail to another address here.

The next one is Create/Restore BackUps. You can choose the things that you want to include in your backup here on the page that comes when you click Create/Restore BackUps or you can click the Restore button if you have an old backup that you want to reuse.

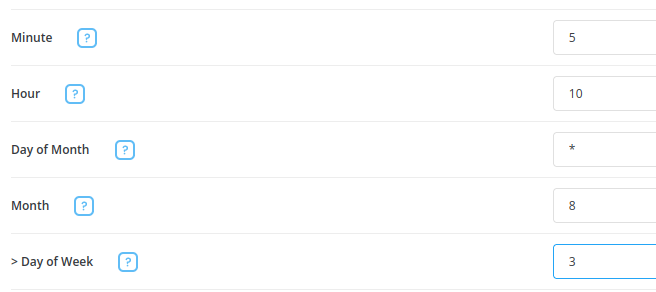
Cron jobs are system commands that can be scheduled. For example, if you wanted a “hi” value added to a text file every Monday morning, you could do this through the cron jobs menu. Values that can be set are minute, hour, day, month, and day of the week (Monday-Sunday; the numbers 0 or 7 represent Sunday).
Asterisk (*) means every.
You can specify exact times using commas to separate them (1,2,3 is minutes 1, 2 and 3).
You can also specify spans using a dash (5-7 is minutes 5 to 7).
You can specify intervals using a star and a forward slash. ( */2 is every 2nd minute.)
You can combine them to create a more precise schedule. ( 1,5,11-15,30-59/2 (minutes 1, 5, 11 to 15 and every 2nd minute between 30 and 59).
To understand this concept better, I recommend you to try this website:
For example below corn job means “At 10:05 on Wednesday in August.”
The next one is Custom Error Pages. Error pages allow you to control what visitors see when they encounter errors.
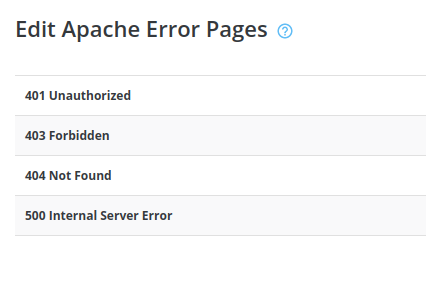
You can edit these error messages in the HTML page like this:
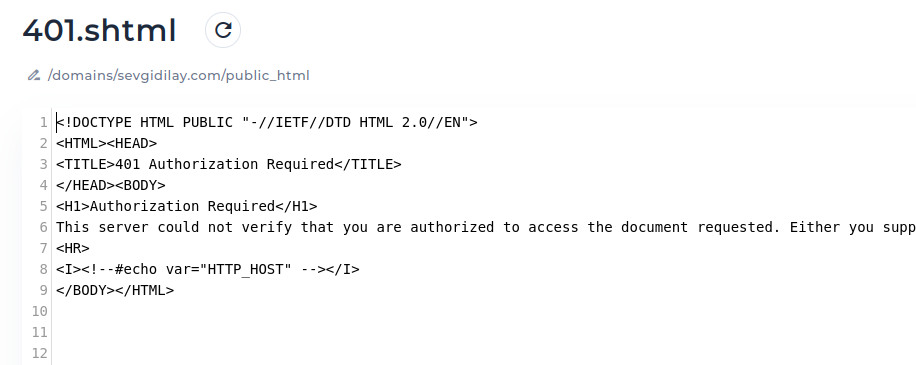
For example, with this code when a user tries to access a resource on a website that requires authentication, but the provided credentials are invalid or missing, the server responds with a 401 error.
You can also create the files yourself in any HTML editor and upload them to your public_html directory. The files must have the .shtml extension.
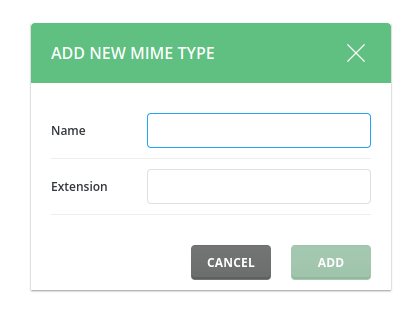
Next, we have Mime types which will allow you to set how browsers open web files. To add a mime type, enter the mime type name and then the extension, without a period. Mime types (and Apache handlers – described next) should only be used by advanced users.
The other one is Two-Step Authentication which will require you to have Google Authentication App on your phone.
You will scan the upcoming code in your code which will create a unique code that you will require to fill every time in order to have extra security. The code will change every time you want to log in if you choose the first option here:
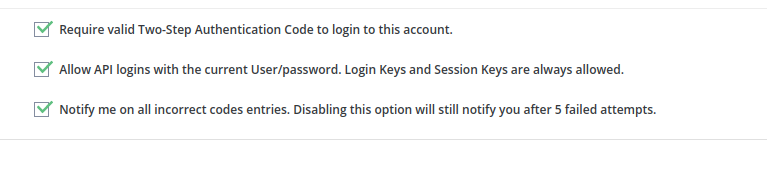
And there is a part that says Secret, you should press Generate Secret and keep that code somewhere safe in case you can’t reach your Google Authentication App.
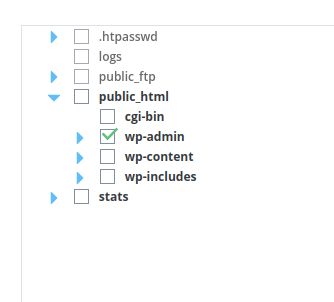
The next one is Add Protected Directory part. Where you can make your websites more secure. For example, if you press wp-admin here under the public_html and add a password to it, the next time you are trying to reach your site using this link:
yourSite.com/wpadmin
or
yourSite.com/wp-admin
or
yourSite.com/admin
you will be asked for your username and the password that you generated here, in addition to your usual username and password for extra security.
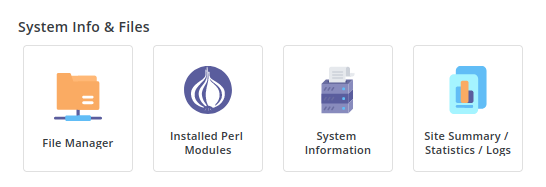
Next up we have System Info and Files with four different parts.
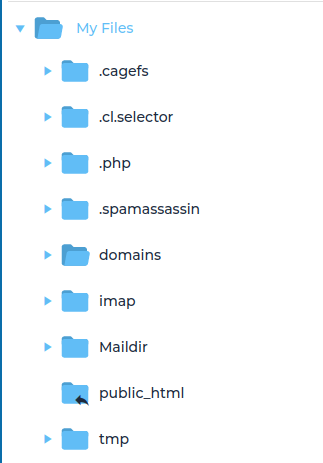
First, we have File Manager which allows users to browse, upload, download, and edit files on their web hosting accounts. It provides a web-based interface for managing files and directories, making it convenient to organize and manipulate website files. You can see your files like this:
For example, we did a WordPress setup by making use of this area. You can find the tutorial HERE.
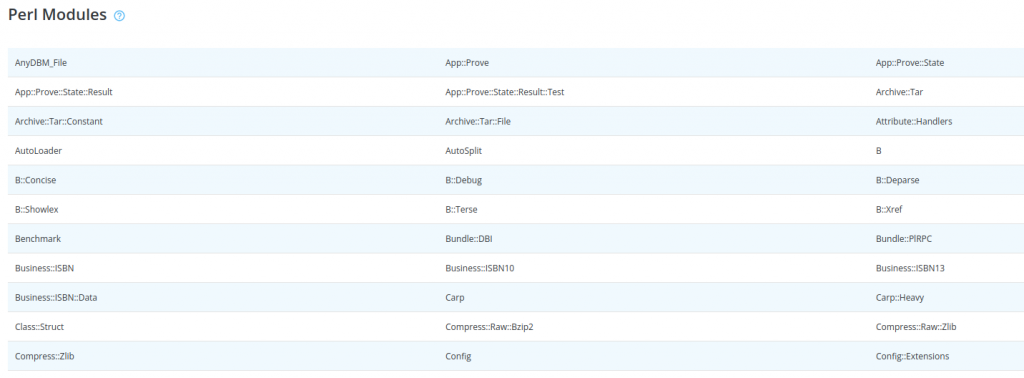
Next, we have Installed Perl Modules.
First of all keep in mind that a Perl module is a file containing pre-written code, subroutines, and data structures to accomplish a specific functionality. In the context of DirectAdmin, Perl modules refer to the Perl programming language modules that are available and can be used within the DirectAdmin control panel.
By installing Perl modules in DirectAdmin, users can enhance their websites or scripts by utilizing the existing functionality and libraries offered by Perl. These modules provide additional features, simplify programming tasks, and enable integration with various APIs or databases. You can see some of the modules here:
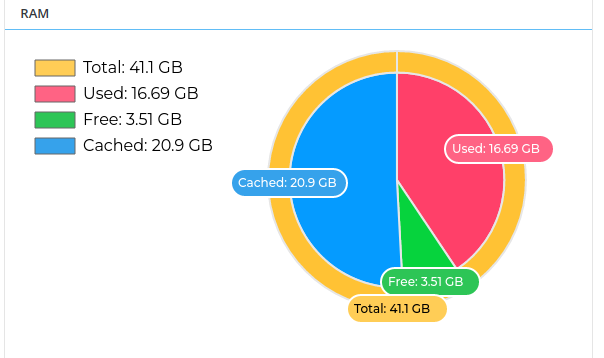
The next one is System Info which allows you to determine the memory usage of the server, uptime, CPU’s information, and the status of all services. For example, I can see my RAM Usage like this:
And also you can see the swap section here. Swapping memory becomes useful when there is not enough RAM. The disk acts like RAM temporarily when you are in need. But it’s not something we recommend.

There is also a User Statistics part here, where you can see your Domain Statistics, Usage Statistics, and Account Configuration
You can view the Usage Log, failed Log, and much more things here.
Now, let’s move on to the Extra Features.
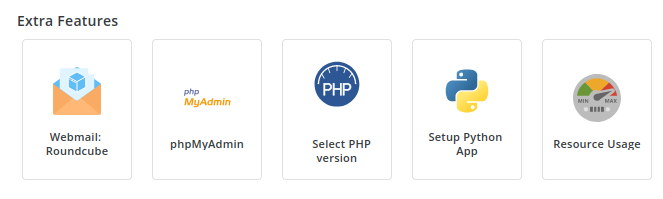
The first one is Webmail: Roundcube which I already mentioned in the E-mail Accounts part.
Instead of writing yourEmail.com/webmail to your browser, you can simply click here to use your e-mail by login in.

You can also reach the phpMyAdmin panel which is a whole different panel. I am going to explain it HERE.
You can also select PHP Version here but I do not recommend you to change if you don’t have enough information about this topic. The currently chosen one will be suitable for you to use.

Finally, we have the Support and Help section.
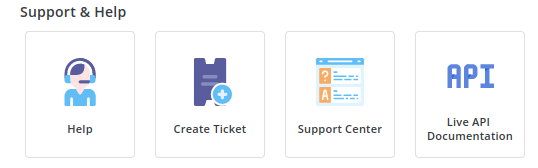
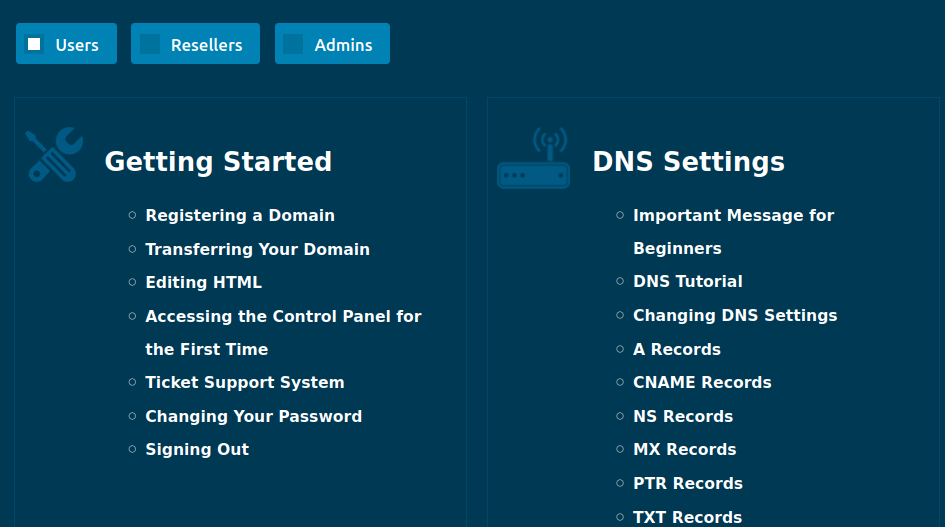
You can learn everything you need from the Help part. Choose whether you are a user, reseller or admin in order to find things you should know below.
Next up we have Create Ticket part. It’s basically sending a problem or warning message to your host as a user. The host can also send a Ticket to its user.
In my panel, I am not allowed to Create Tickets here because the company that I am working with has a different panel for creating Tickets which is WHMCS which I will be explaining in detail HERE.
Next, there is Support Center where you can see your messages. This allows all permission classes (User, Reseller, and Admin) to communicate within the control panel
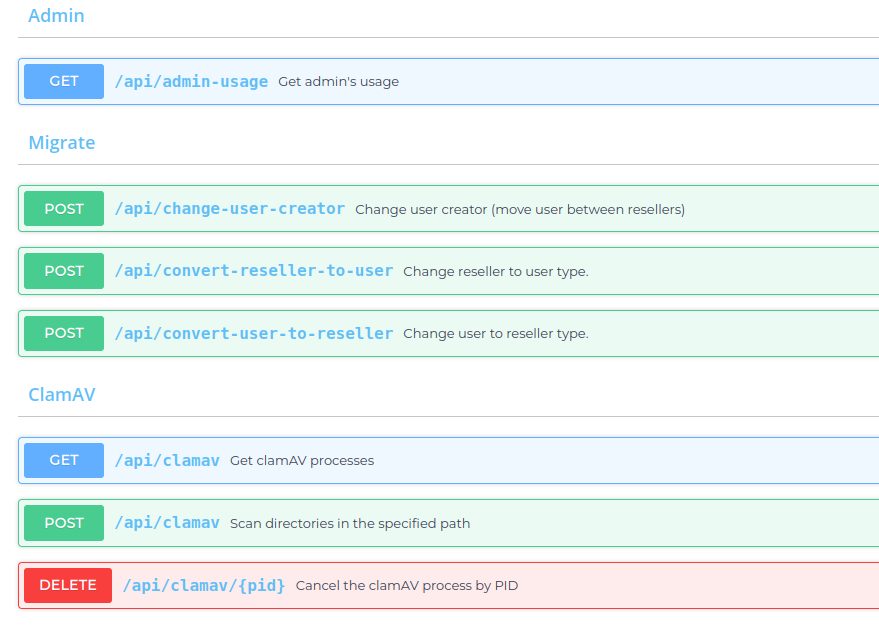
As the last thing we have Live API Documentation where you can see the documentation of API here:
I hope this article was helpful for you, you can always reach out using the contact button or leave a comment for your further questions.
Thanks for reading!